Monday, September 10, 2012

here comes the bride's bodice

outside holding my pretend bouquet

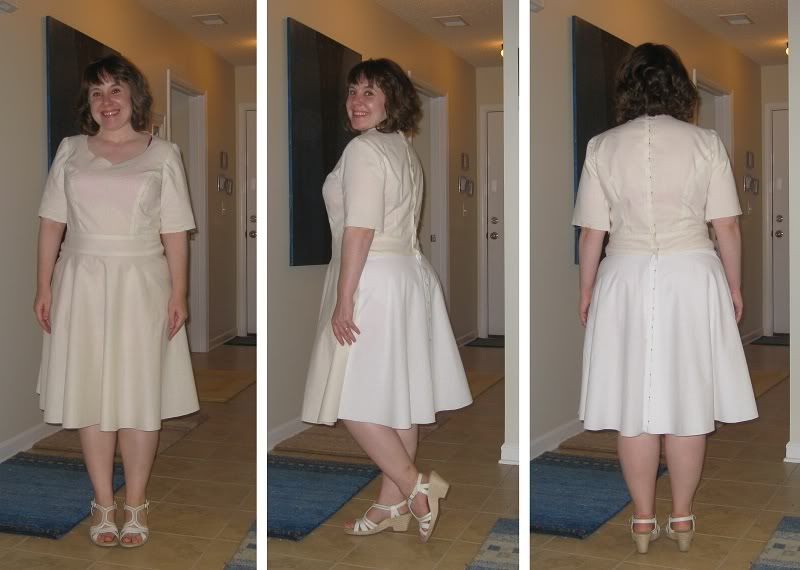
The bodice of my wedding dress is finished!  YAY!  I worked all weekend, and by 3pm Sunday, I was putting the finishing touches on the armscye seams.  There are very minor issues with the fit and construction, but overall I’m pretty happy with it.

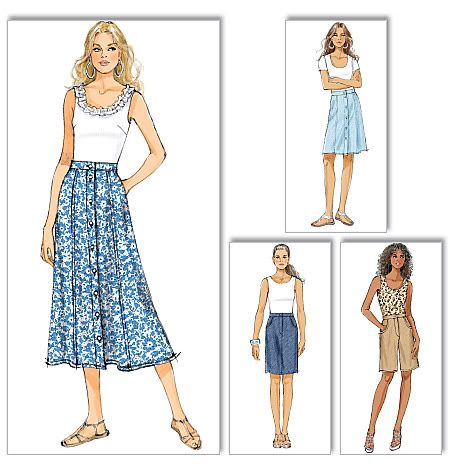
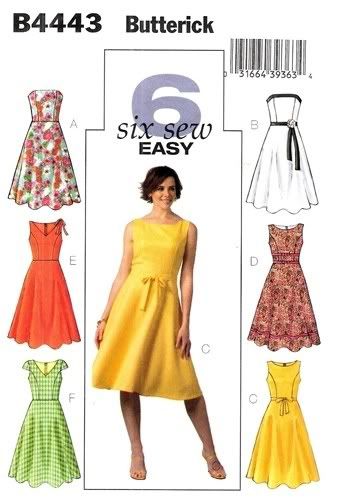
I am using McCall’s 6599, one of the brand new Fashion Star patterns.  It is marked “Easy,” which I felt was important – not just because I am a beginner, but also because I knew my fabrics and construction techniques were going to be more demanding than usual.  The fabric (4-ply silk crepe) turned out to be quite demanding.  There were tears, I admit it.
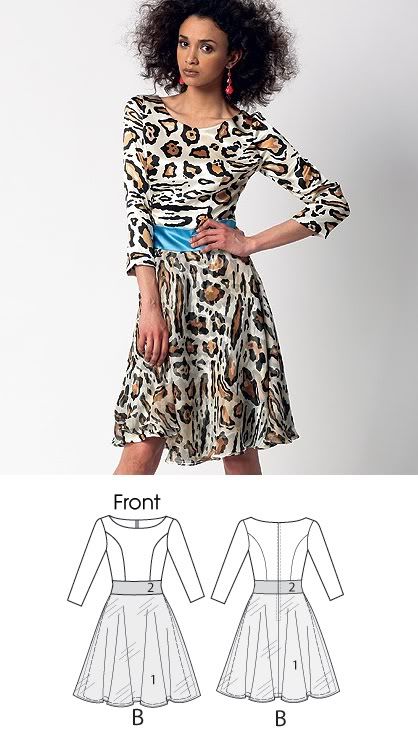
McCall’s 6599

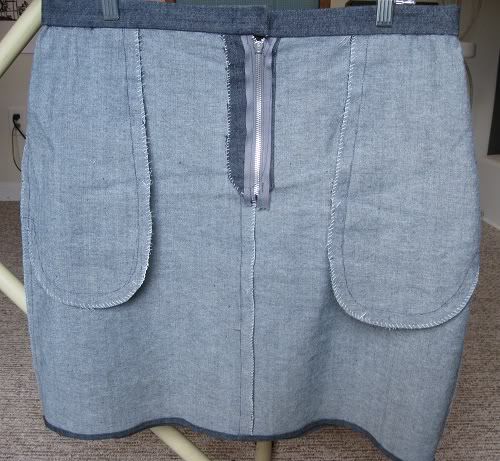
So here are some shots of my muslin.  I actually completed it a few weeks ago but was too scared to cut into my fabric.


(please ignore my hot pink bra strap)

There was some excess material in the muslin, but I wasn’t too worried about it.  I knew it was going to have more than a few layers, and I wanted plenty of room to accommodate them.

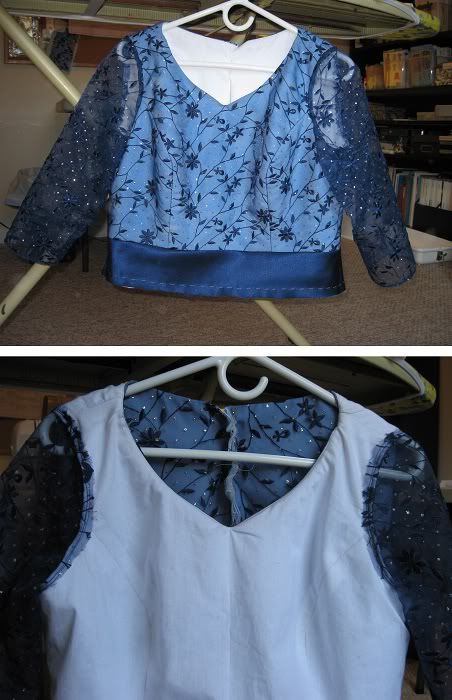
The bodice shell, in fact, consists of 3 layers:  a pale blue silk crepe sandwiched between bleached muslin and an embroidered organza overlay.  I am sad to say that the organza overlay is 100% polyester, which I was trying to avoid at all costs.  I found this organza in the clearance bin at JoAnn’s, and the navy blue floral pattern won me over.  I didn’t even mind the glitter, although my entire house is now covered in a fine mist of silver glitter dust.  It was even in my fiancĂ©’s hair, awww.

I have never sewn anything with an underlining, and I am officially hooked!  This bodice has so much shape and body and feels luxuriously substantial.


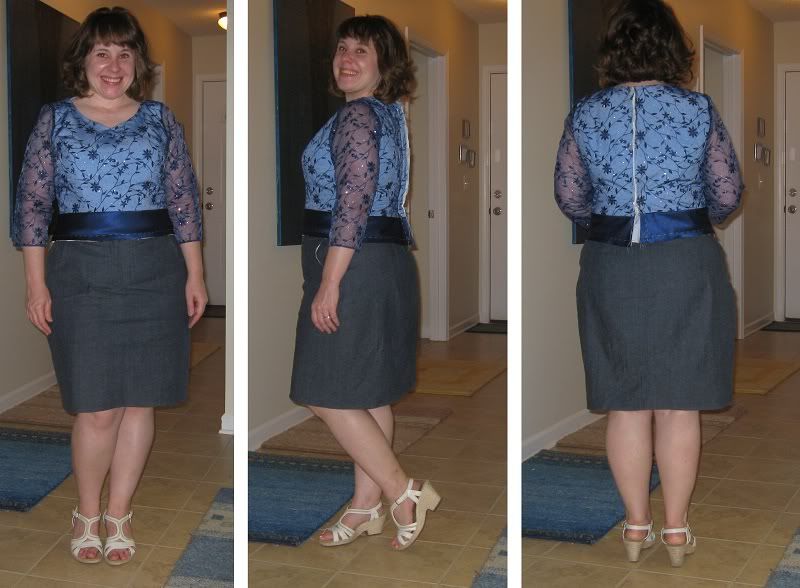
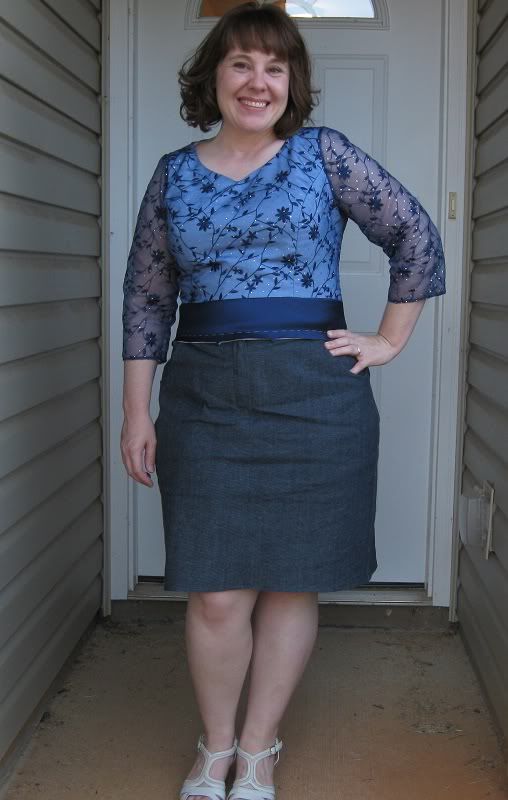
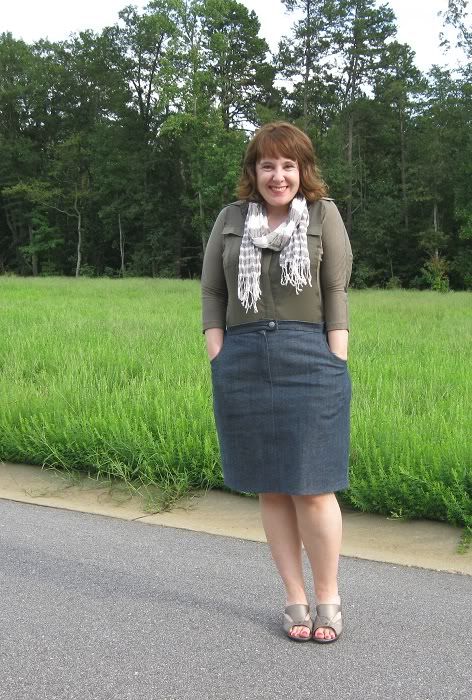
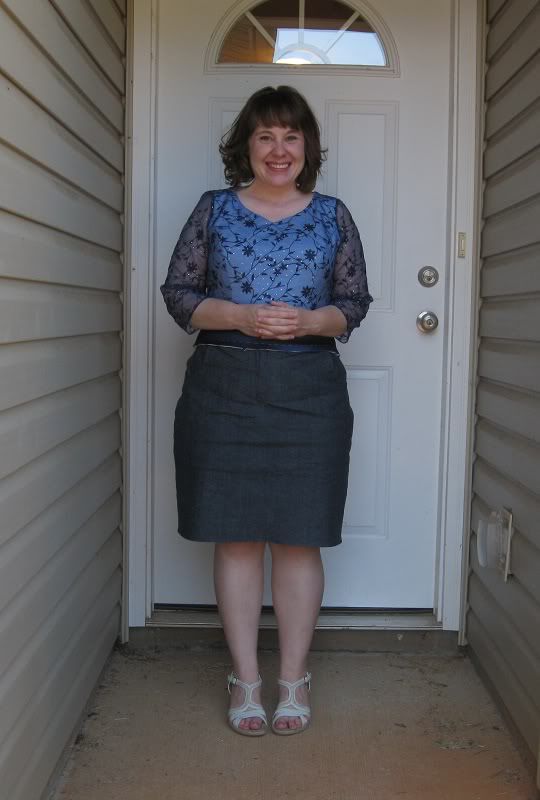
finished bodice!  (with denim skirt)

(I apologize for the quality of these pics, by the way.  I am by no means a photographer and totally fail at taking indoor pics.  I did scoot outside for a few shots in natural lighting, but it was super-quick because I was embarrassed to be seen by my neighbors posing in a half-finished dress that was pinned up the back.)

I have 3 concerns right now:

1)  sleeve length – I kept shortening the bracelet-length sleeves without thinking about them in relation to the waistband, and I’m not sure I like the result.  The waistband will be slightly shorter when I attach the skirt, but I’m still uneasy about the proportions.  I had chosen an elbow-length sleeve for the muslin and might still return to that choice.

2)  forward shoulder issue – I never learn!  I think I do have slightly forward shoulders because my tops always slide backwards on my shoulders, and my waistbands end up higher in the front than in the back.  GRR.  I thought it was OK on the muslin, but it is obvious in the pics that the waistband is riding up in the front.  Maybe it will straighten out when I attached the skirt.  I am keeping my fingers crossed because I don’t know how to fix it at this point.  Might have to sew it to my bra and call it a day.

3)  bullseye booby syndrome – There are two big flowers right over my nipples.  I can’t help but chuckle.  The size and placement of the floral motif turned out to be awkward to maneuver on the front, but I’m going to let it go and hope no one else notices.

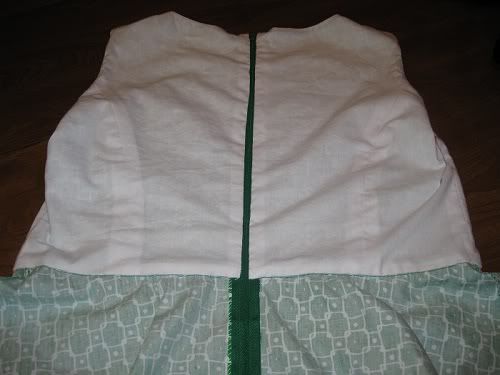
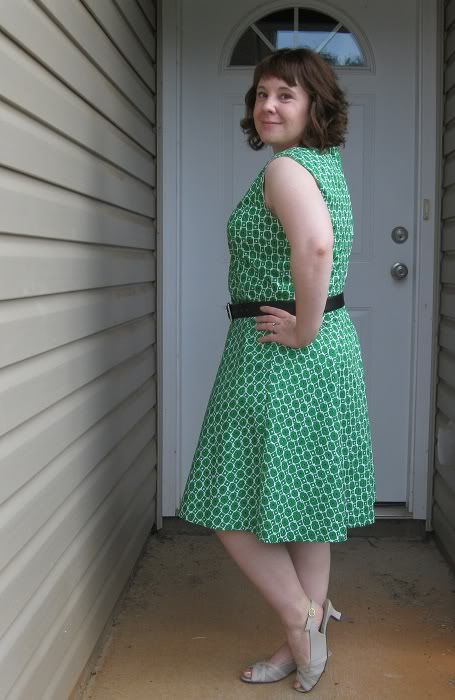
But tell me that fit across the back is not 99% perfect?  YAY for small victories!


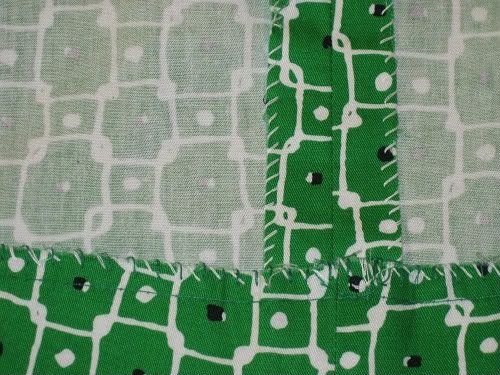
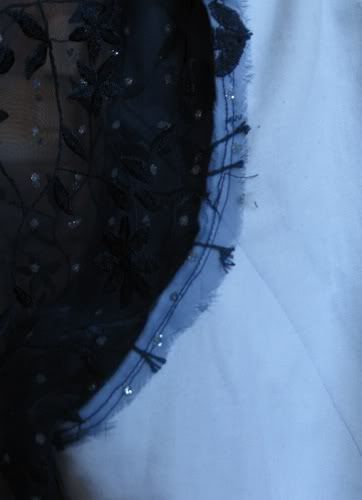
right side & wrong side, as seen from the ironing board

That picture up top is a great representation of the color.  It’s such a dreamy blue.  The lining is bleached muslin.
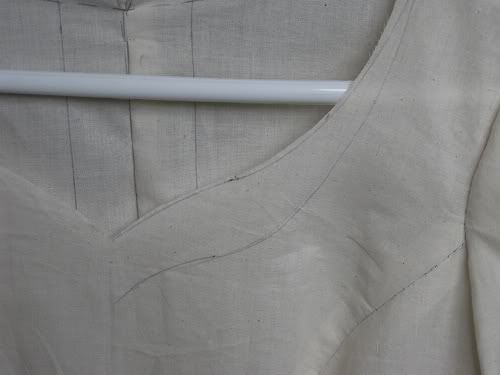

neckline

I am so proud of the neckline!  This was a design change from the original pattern because I wanted a modest sweetheart-ish neckline.  This is the first V-neck I have sewn.  It was a little trickly, but I think it came out well!

inside of sleeve

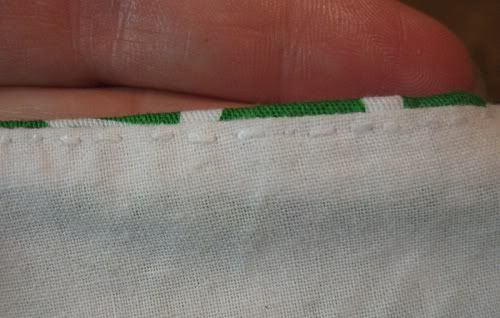
To finish the armscye seams, I cut the bodice seam allowance down to a quarter-inch while leaving the sleeve seam allowance at 5/8.  Then I wrapped the sleeve seam allowance over the other and sewed it down.  While certainly not couture by any means, it got the job done quickly – which is good because I hate hate HATE sleeves and armscyes.  The sooner I can get that unpleasantness over with, the better.

And now for the best part of the whole dress!  I wanted to include 2 very special things, and I decided to sew them into the waistband facing….

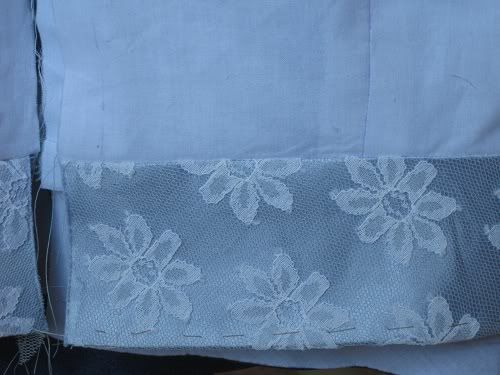
lace from my mom’s wedding dress

My mom agreed to let me cut apart her wedding dress overlay and use some of the lace.  She and my dad have been married for 41 years, and it meant so much to me to bring a part of her wedding into mine.

Blankey!

I will admit it.  I had a security blanket – for years.  My mom always said that I loved my blanket so much that she was going to tie it around my waist when I got married.  When I decided I had outgrown it, she put it up in an archival plastic bag for me.  I picked it up from their house a few weeks ago, and despite every part of me screaming in protest, I managed to cut off a little section.  This section now lines the front waistband facing of my wedding dress, which gives me a warm and fuzzy feeling – both literally and metaphorically!

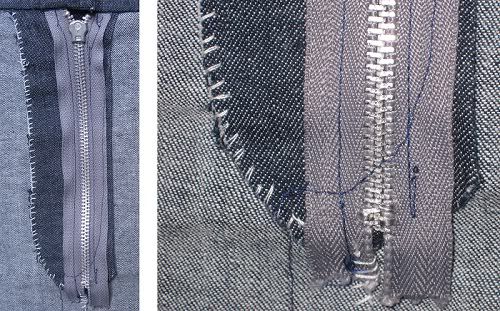
So now all that’s left to do is sew and attach the skirt, insert the zipper, and hem the dress.  And maybe shorten the sleeves.  The skirt will be pale blue silk crepe with a silk chiffon overlay.  The next pics I post will probably be from my wedding day, but I could not resist blogging about my progress so far!  I feel such a sense of pride and accomplishment now that the bodice is completed.  I can’t think of any other garment I would rather be married in.

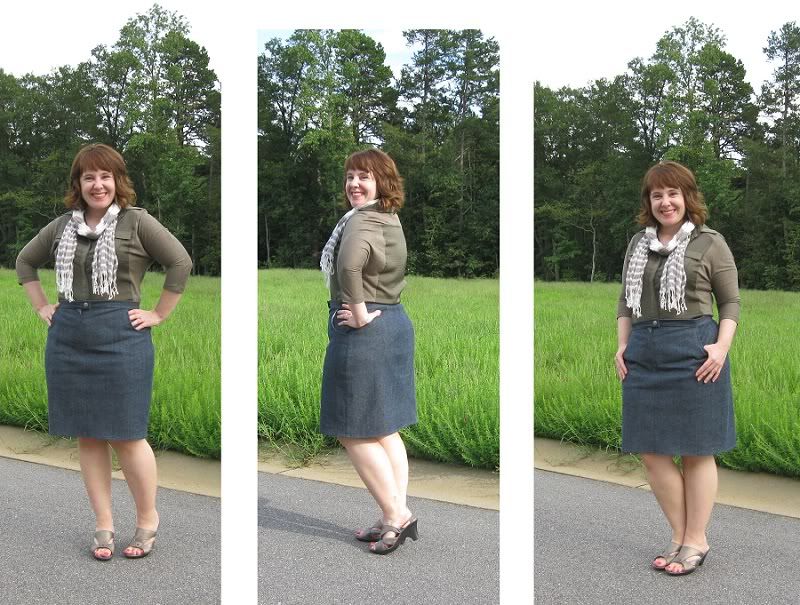
Signing off with my “sassy” pic (and please forgive the cut off head and feet)….

Thursday, August 30, 2012

the little denim skirt that could


Butterick 5649 skirt in stretch denim


At last – some more content on this little beginner’s blog!

Oh, Butterick 5649….  This is my most favorite flawed sewing project to date.  There are so many things wrong with this skirt, but that has not kept me from wearing it everywhere all the time.


here be the pattern illustration

I have wanted a denim straight skirt for ages.  I don’t know if these things are stylish.  It doesn’t seem like you can find them anywhere in stores, and I remember them being a wardrobe staple when I was in junior high in the late 80s.  I guess this should tell me something, but I just don’t care.  I wanted a denim skirt, so I made me a denim skirt!


here be the innards as seen hanging from the ole ironin' board

I used this wonderful, comfortable stretch denim that I got on sale at JoAnn’s.  Stretch denim has to be one of the best inventions ever.  I had some issues with the waistband and front closure – which, granted, was the only tricky thing about this pattern.  This was my first attempt at a fly-front zipper closure, and I kind of stumbled my way through it.


my first fly front zipper

I thought I had everything cut and marked and lined up properly, but I ended up having to sew directly over this metal zipper, which just doesn’t seem right.  Luckily it did not break a needle or throw my machine off-kilter, but it made a lot of scary noise, and it looks strange to me from the inside.

The waistband is wonky….

hand-worked buttonhole / ugly waistband with pretty button

In case it isn’t obvious, the waistband doesn’t really line up.  I am sure that 99% of this wonkiness is the result of my waistband ineptitude.  I think this is only my second attempt at a non-elastic waistband.  But the waistband pattern was confusing because there were a lot of different lines to be sorted out.  It would help tremendously if there was a different waistband pattern for each size.  Again, this is not going to keep me from wearing the heck out of this skirt.  (Actually, I already have.  Yes, I finished this skirt over 2 weeks ago and was too lazy to take pics until last night.  I hang my head in shame.)

Also, my cheapo machine makes questionable buttonholes at its best, and it did not like this stretch denim at all.  So I ended up having to hand work the buttonhole.  The result kind of makes me chuckle, and it’s OK if you chuckle a bit, too.


triptych of poses, including obligatory booty shot
(believe it or not, this is my legs AFTER tan-in-a-bottle)


Overall, I am thrilled with this skirt!  I have worn it to work with a pretty blouse and out running errands on the weekend with a plain t-shirt and statement necklace.  There is just something about dark denim…. It has an almost magical way of instantly multiplying your wardrobe.

AND!  Nice, deep pockets!!!


enjoying my pockets


On an unrelated note, have a look at all of my poor UFOs….


Aren’t they sad?  I have never, ever finished a top, which is problematic because I am sorely lacking in nice tops and blouses for work.  Here’s the rundown:
- New Look 1607:  Confused over what to do about the front facings, which will show right through this poly chiffon if sewn as drafted.
- Butterick 5615:  That front tie was much cuter in theory than it is over my belly.
- Simplicity 1779:  Way too low cut!  And also a bit too small.

As I hung them all up on the ironing board, it occurred to me that I seem to have a thing for the color blue.  You’ll never guess what color my wedding dress is going to be!


300 dollars worth of silk

Speaking of which, there is some progress on the wedding dress front.  Here’s a sneak peek….

oooh.... musliny!

Before I sign off, I wanted to thank all of you who have stopped by say hi and give me some words of encouragement!  As a newbie to both sewing and blogging, I really appreciate it.  Hope everyone has a great Labor Day weekend!  :D

Wednesday, August 8, 2012

summery green dress


Butterick 4443 in cotton twill
First sewing post - yay!

I live in the hot and humid South, and it is especially hot and humid right now.  I wanted to make something that would be cool and comfortable for work and also transition well into fall.  This dress fit the bill.  I made it up in a bluegrass-green cotton twill with a geometric print that I got on sale at JoAnn's about a month ago.  It feels heavenly on a hot day like today.

The pattern is Butterick 4443.


I wanted an A-line dress with a simple style, and I liked the lined, princess-seamed bodice and the somewhat retro feel.  I made View C without the self-fabric tie.  I wasn't sold on the high bateau neckline, so I lowered and narrowed it.  I also shortened it at the hem a tiny bit.

When they say "easy", they mean it.  This is a great pattern for beginners like me.  The only tricky part was attaching the lining to the bodice at the shoulder.  I know there are tutorials out there with much better ways to do this, but I had never lined a bodice and thought I would try it according to the instructions.  Yeah, next time I'm going for the tutorials.  I don't mind the hand sewing, but I didn't think I would ever get the shoulder seam to lie flat long enough to stitch it.

Here's a shot of the "innards":


I'm pretty proud of my lined bodice.  The lining is bleached muslin - so soft and comfy.

And here is the zipper, another point of pride for me on this dress (the pic might come out wonky - I had some trouble uploading it):


This is only my second zipper, and I think it turned out great!  I love the method of zipper installation in the pattern instructions.  First you line it up and baste it to the right seam allowance.  Then you lay the dress flat and baste all around the zipper on both sides.  This helped me get it lined up perfectly.

I put a lot of hand stitching into this dress.  The lining is slipstitched to the zipper and all around the waistline seam per the instructions, and of course the hem is hand sewn.  But being the crazy hand stitcher that I am, I went a little further. I understitched the lining by hand using a short backstitch.  And as usual, I hand overcast all of the seams to finish them.  Yes, I know I am a nutcase.  I love to sew by hand.  It's a zen thing for me.

hand understitching at the neckline and armholes

hand overcasting at seams and hem
This is the first time I've worn a dress with a zipper in maybe 15 years.  I am short and chunky AND short-waisted, so I gave up on finding ready-to-wear fitted dresses in woven fabrics years ago.  Any time I've bought a dress, it has always been either knit or loose or two-piece.  Learning to sew has opened up this whole new world of possibility for me.  I love my knit dresses, but there's nothing like slipping into a full-skirted, zip-up dress to make you feel like a lady.


I even kind of look like a lady - ha!  :)

Thursday, August 2, 2012

introductions are in order

Hi there, internets!

If you’ve stumbled across this blog, it’s probably because I’ve been leaving random comments on your blog, and you’re curious about whether or not I am a creepy stalker.  And maybe I am a little bit of a stalker, but mostly I just love clothes and fashion and sewing.

So… background info!  In case you’re interested…..

I’m 36 years old with a wonderful fiancĂ© and a day job.  After years spent living in a personal style oblivion, I hit my mid-thirties and suddenly felt an urge to reinvent myself.  I lost some weight and started frequenting thrift stores.  Although I have every Vogue fall fashion issue dating back to 1997, I started regularly sifting through magazines and scrutinizing details and looking for ways to translate high fashion into everyday wearable style.  I discovered various style blogs and lurked around for more ideas and inspiration.

Six months ago, I took another big sartorial step and signed up for a 6-session evening sewing class at my local community college.  I pulled out the sewing machine that my parents had given me for Christmas 4-5 years earlier, took it out of the box, and finally disengaged it from its Styrofoam padding.  And it was love at first sight.

Since then, I have started a dozen or so sewing projects and finished 6.  One of the six was a gift and came out great.  The other five were for me, and four of them are even sort of wearable, yay!

I am hoping to use this blog to document my progress, but I warn readers from the get-go that I am pathetically lazy about taking and uploading pictures, and posts might be few and far between.  Right now I have a bad habit of starting projects, realizing two-thirds of the way in that I’m not happy with them, and abandoning them.  Maybe blogging about projects will make me more accountable to myself.

Also, I am getting married in (gasp) two months.  And I am attempting to sew my own wedding dress!  We’ll see how it goes….

What about you?  Did you sew your own wedding dress, or do you plan to?  Does blogging push you to follow through with sewing projects or keep honing your personal style?  Have you always had a love of clothing and fashion?  If you had to wear the same outfit for a month, what would it be?  If you’re reading this and feel the inclination, tell me a little something about yourself!